How to Get a 100 on Any Assignment or Project

Proven Strategies to Achieve an A+ on Your Assignment or Term Project
Your guide to getting the grade you want on your next big project.
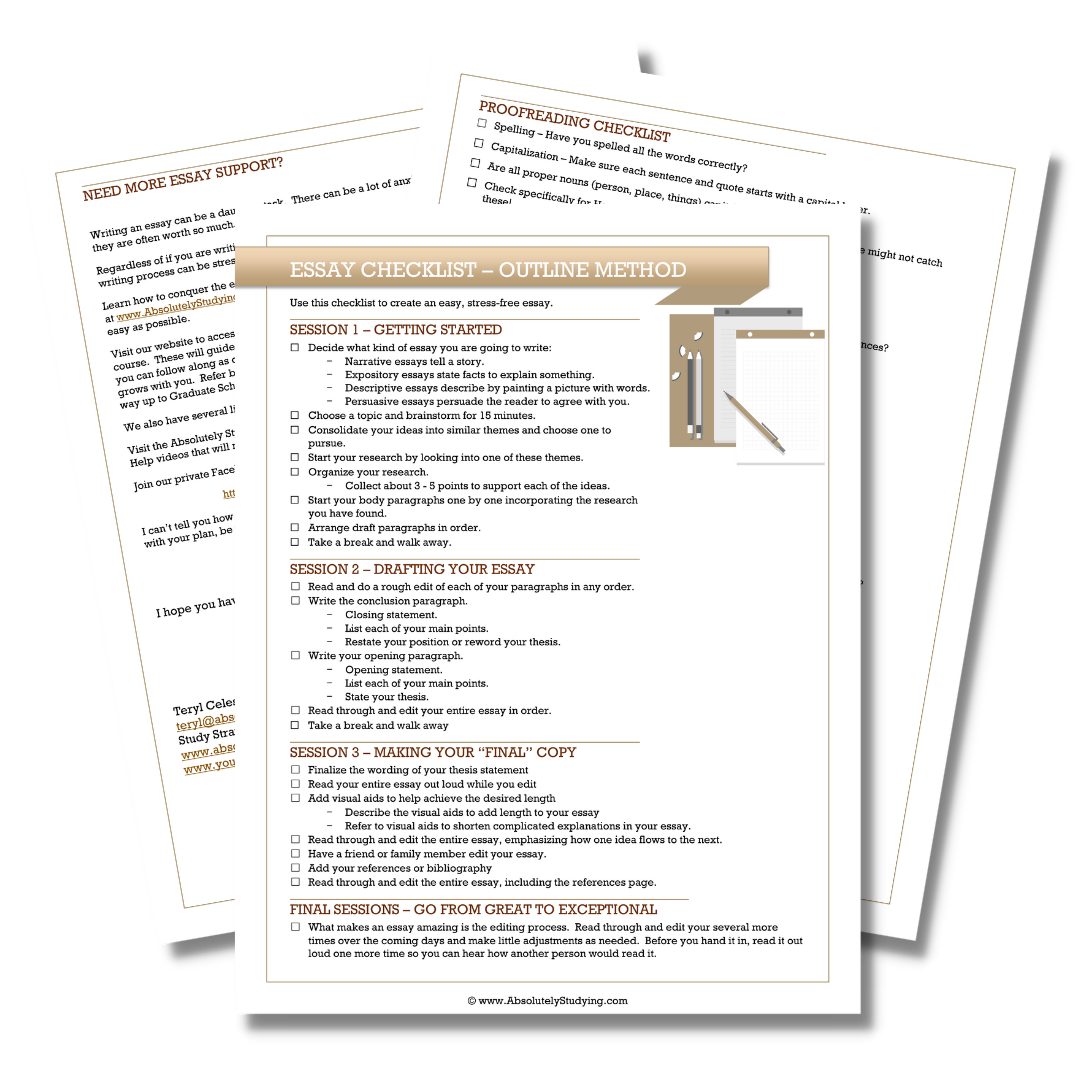
Essay Writing & Proofreading Checklist
This checklist will guide you through the process of:
Choosing a subject
Creating your draft
Revising your essay
Proofreading step-by-step
Getting it ready to submit
This easy-to-follow guide will lead you through the entire process quickly and efficiently.
* Disclaimer * Some of the posted links are affiliate programs. By clicking these links, I may receive monetary compensation. This will not alter the price or change the buyer's experience.
Today, I will show you how to get an A+ on an assignment. At the very end, I will even show you a couple of examples where I got 100% for term projects I completed for my degree.
Significant term projects and assignments are an unfortunate reality of college and university classes. Even trade schools have them. There is a good chance that at some point, you will have to complete an assignment that is worth a quarter of your mark, or maybe even more!
Getting 100% on an assignment like this is even more important to us students who suffer from exam anxiety. We want to walk into those tests with the best possible cushion to take some of the stress off. This is always how I have approached these big projects, and I hope I am not alone.
So, let’s talk about getting an A+ on an essay, assignment or term project. In this article, you will find a step-by-step guide on how you can do this without breaking a sweat.
DOWNLOAD NOW: FREE ESSAY & PROOFREADING CHECKLIST

Create an amazing essay & proofread it with ease!
A simple, stress-free essay is just a click away.
How to Get an A+ on an Assignment or Term Project
Getting 100% on a big assignment IS possible, but it does take a ton of planning and effort. You will have to be intentional about every step you take in this process.
An A+ does not happen by accident. You have to set your sights on this mark right from the start and aim for it. If you don’t get an A+ the first time you try, don’t beat yourself up. Review your assignment and pay extra attention to where you lost marks. Then you will know where you can improve next time.
Start Early and Plan Ahead
If you break these steps down and work on them a little at a time, then you will have much better results than trying to push through the entire project in one sitting. While these assignments usually require a massive amount of work and effort to complete, we are often also giving a significate amount of forewarning that they are coming. If the project is on your syllabus, you will know about it on your first day of class. You should start thinking about it at this point and trying to imagine what you might do the project on and how it might look when you have completed it.
That is not to say that you should start working on it on your first day of class unless you really want to. But at least get comfortable with the idea that this project will have to be done. The sooner you come to peace with the idea and accept it, the sooner you can direct all that anxious energy on it. Maybe you might even look forward to it if you can find an exciting topic to do it on.
The earlier you start this project, the more stress and sweat you will avoid! If this is a research project or an essay, try printing out our FREE essay checklist to guide you through the writing process. This simple checklist will help you through the entire method, from choosing an idea all the way through writing, editing, and handing it in. This comprehensive tool can relieve the pressure of forgetting a step and supply clarity by mapping out the entire journey.
Understand the Assignment Requirements Thoroughly
These instructions will be the map to this whole project. You will want to keep the instructions handy and at your side the entire time you are working on this project. Refer back to them often. These are the instructor’s own words, telling you how they want the assignment completed.
You might be surprised to find out that students often get a mark lower than expected because they did not follow the instructions. This might be something as simple as not showing all your work on a math question or as big as handing in an essay instead of a research paper.
It could even be due to a misunderstanding or not reading the instructions thoroughly. Whatever the reason, make sure you understand what the assignment is and what you are expected to turn in. Referencing the instructions regularly as you work through the project will help ensure that you create exactly what the teacher is asking for.
While reading through the assignment instructions, try your best to visualize what you want the final project to look and sound like. You don’t only want something that fulfills all the assignment criteria; you want something that will be show-stopping.
To do this, you do not necessarily have to be a fantastic artist, especially if it is digital. You can do this with zero artistic ability as long as you can picture, in your mind, what you want the final copy to look like.
When I was working on my mushroom project below, it did not involve any artistic talent. It was all just vision.
I had imagined the idea of going on a mushroom hunt, carrying a little journal in my pocket. In the journal, I would make observations and scribble notes and diagrams. Over time, with repeated use, it would get dirty from spills and dirt during our excursion.
This is a digital presentation I created for a Fungi and Lichen class I took at University. I received 100% on this assignment.
When I went on my actual mushroom hunt, it was nothing like this. I used my phone to take notes and pictures. Google Maps was kind enough to allow me to screenshot the GPS coordinates. However, I knew I wanted the journal aesthetic for my final copy.
When I was ready to work on the final presentation, I had a vivid picture of the hunt journal I wanted to hand in. I used Canva to help me create the layout and doodles, and voila! It turned out perfectly, and all it took was patience.
Break Down the Project into Manageable Tasks
Once you have read the assignment, go back, and read it a second time. On this read-through, make sure to highlight any significant bits. Then, make a list.
Create a list on your second read-through. Start pulling out all the essential bits that will eventually make up your project.
If you happen to have a visual element, for example, write down exactly what you need and how many. For every single piece of the assignment, write this out separately. If an element must be repeated n number of times throughout the project, add it to your list n number of times and specify what each entry is for.
You are going to use this list as your road map. As we create and collect the assignment’s components, we will cross them off of this list. This will help us to track our progress and keep us on task and organized.
We are not putting the assignment together just yet. We just need to have a clear vision of everything expected of us to get full marks. So, every single element you need to add to the assignment should be listed. If there are optional areas or additions, add those too.
You want to give more than what is asked of you when you aim to get an A+ on an assignment.
Next, print off your rubric
A rubric is the blueprint that the professor or TA will use to mark your assignment. These are almost always provided. If it is not offered as a separate document, return to the instructions, and reread them carefully. If there is a part of the assignment instructions that break down exactly how it will be marked, point for point, then that is likely your rubric. Make sure you create a separate list for this and write down exactly how each mark is distributed for your assignment.
Image courtesy of https://www.uen.org/rubric/know.shtml
If it is rubric style, it will look like a chart. Along one axis of the chart, it will list the categories to be marked. Along the other axis will be the possible point value. For example, an assignment that is out of 25 marks might be broken down into 5 categories, and each is worth 5 marks. As you read a rubric in that style, make sure to read each entry for the points. Read how to get 1 point, 2 points, and so on all the way up to 5 points.
We do this so that we know how each point is awarded across the entire assignment. Mainly so that we know what the difference is between a 4 and a 5. These differences may be subtle. Reading the marks below the one you aim for will clarify how to set yourself apart from the lower mark. Ensure that what you are supplying fully satisfies a 5 compared to the requirements from a lower-quality sample.
If you want to get an A+ on your assignment overall, you really want to aim for a 6. So, you will want to fulfill, unquestionably, all the requirements for the 5 and then, just a little extra, to make sure you get those points.

Conduct In-Depth Research from Multiple Sources
Now that you have this key, you will want to go out and start researching and gathering your information. Don’t put the pressure on yourself right now to make it amazing. Just make sure that you have, in point form, all the information you are going to need to complete your assignment.

As you are researching, make sure and gather as much information as possible. Really flesh out each of the points that the teacher has asked for.
Remember, you want to go above and beyond. You want to give more than you are asked for without going off-topic. You don’t want to go out and start delving into information that is not needed.
Instead, dig deep and double down on details about the information that is needed. Make sure you are answering all questions you could be asked about that topic. Let the 5 W’s guide you as you try to explore the information as much as possible.
When you are working on any big assignment, the five w’s are your best friend: who? What? When? Where? Why? And never forget their friend: how?
Organize Your Findings Effectively

Once you have completed your research and have satisfied all of the individual items on your list, you can start creating your assignment.
Start to collect the information and put it into the form the instructor has asked for. If you are doing a paper or research project, you will want to start linking together the facts you gathered into paragraphs. If you are creating a speech or presentation, you can start building that. You have all of the raw data you need. Start creating our masterpiece!
We have different articles that can help you to create various assignment types. If you can’t find what you are asking for, you can always email us for help.
Draft, Edit, and Refine Your Work
I always give this advice for nearly every assignment, essay, or term project that I talk about: Your work goes from okay to extraordinary in the editing process.
You want to edit something over and over and over again. Edit your assignment 3 of 4 or 10 times if you need to make it perfect. Spend more time on the editing process than you do on the creation process.
I use Grammarly and have been using it for years. I find that they have the best editing tools, hands down. When I began at University, I would use the onboard spelling and grammar checker, but it often fell short. Grammarly has a free option that catches many of the mistakes that the onboard checkers miss. The premium version has even more features.
I use it to keep a consistent tone. I can customize each writing piece’s goals to my intended reader. Whether I am writing a highly technical scientific research paper or a blog post. All I have to do is tell Grammarly who my intended audience is, and it will show me where I can make changes. If you are interested, try them out for free.
Every time you read something, you will tweak it to make it a little bit better. Only after you have read something 3 or 4 times without making any changes is it perfect.
Focus on Presentation and Formatting

Now that you have gotten to this point, you want to focus on making it look amazing. There are a ton of different ways or themes you can apply to do this. That can make your assignment stand out just a little bit from the rest.
You want yours to stand out just a little bit when it compares to the others so that the TA or the marker comes across yours and is like, “WOW!” this one is different.
If you are creating a visual project, this is the time to shine. Try using Canva or another graphic design program to make a captivating theme.
If you are doing a written project, check the instructions to see if you are allowed to do a nice cover sheet. Or you can even splurge on higher quality paper to print it on.
Don’t forget to also check your work so that you adhere to submission requirements. Professors will often specify a type of font, size, and margin width in the instructions.

Study Skills Digital Course
Learn how to create a stress-free comprehensive strategy!
Submit with Confidence
If you are printing your assignment out and handing in the physical copy, read through it once you have printed it. Make sure that everything aligns and that the composition is clear and easy to read.
It would be a shame if your printer chose today to start making smudge marks or run out of ink.

If you are handing it in online, open the file or read it in the preview pane before you click send. There have been so many horror stories of students sending the wrong file or a save not being successful, and your document reverted to a draft.
The reason is that you have already put so much effort into making this assignment unforgettable. Having a silly mistake cause your marks would be tragic.
I hope this guide was helpful and that you now have a straightforward plan to rock this project. These simple steps show you clearly how to get an A+ on an assignment. I know you are capable of this, and you will feel so great about it when you do!
The key here is to read those instructions carefully, create the task list, and familiarize yourself with the Rubric. These 3 steps are some of the most critical as well as the most overlooked by students.
Usually, students get lower marks than they would like simply because they don’t follow these steps. Once you get in this habit and take your time with it, you will start pulling out top marks like magic.
If you have a big essay coming up, don’t forget to grab the essay checklist.

I want to be transparent so that there are no misunderstandings. As an affiliate, I may earn a small commission from any products linked in this post. This is not a sponsored” post, and I was not asked to recommend these products. These are products that I genuinely love and want to share with my audience.