How To Make a Study Guide to Crush Your Upcoming Exam

How To Make a Study Guide to Crush Your Upcoming Exam
Exam preparation does not have to be intimidating.
Everything you need for the semester you want!
This bundle includes:
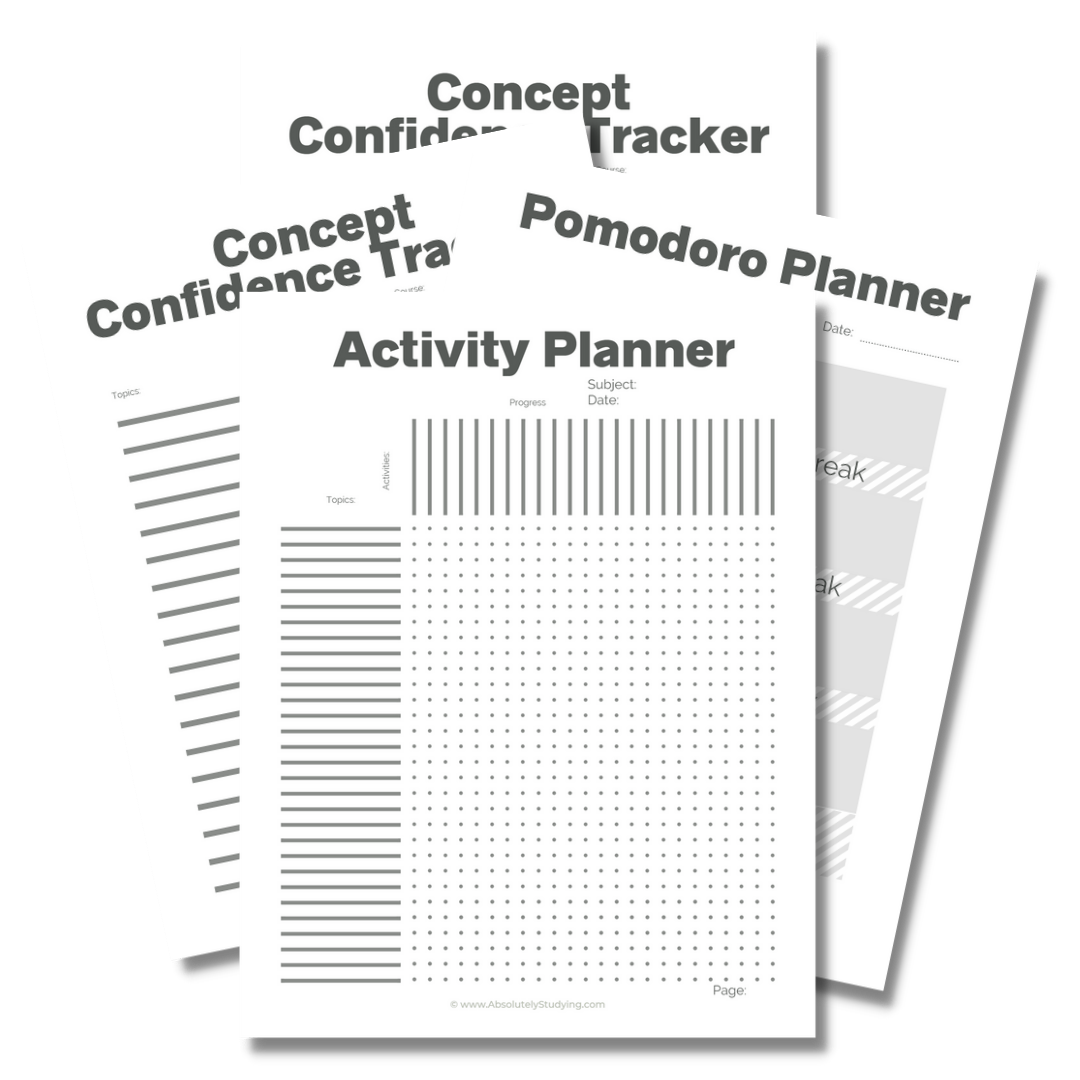
The Syllabus Study Planner
The Pomodoro Planner
A Confidence Tracker
A Q&A planner
The “Get Organized Checklist”
and more!
This workbook is full of super useful resources that can be applied to every aspect of your day.
Studying for an upcoming exam or organizing your thoughts for an assignment due around the corner can be daunting. It is easy to put off simply because you don’t know where to start. Today we are going to learn how to make a study guide to help with this. They are intended to light the way and pilot you through the material in a smooth, coordinated manner.
Whether you are looking to combine notes, condense information, or organize it in a manner that makes sense to you, there is a study guide that suits your needs. These are extremely helpful tools that can help to guide you through the coursework. They will help you to plan your study sessions and rotate activities. Doing this will ensure that you have a solid understanding of all the class material.
As we travel through the semester, we receive information from many sources. We have notes from our lectures and notes from our textbooks, and some classes even have labs or tutorials. This assumes that you never had to step outside the box to clarify a concept or do further research on your own!
When we study for an exam, we need to sift through all this paperwork and decide what is relevant. What is it that I really need to sit down and hammer in? And, most importantly: Do I understand it? These study guides will help you compress and master the details you need to know while linking related concepts. Organizing and colour-coding these relationships will make the material much easier to understand.
It may be obvious how a layout like this would help visual learners. Still, repetitive learners will also benefit from reviewing the notes needed to make these guides and adding further details to interconnected concepts.
This walk-through will help you to create a stress-free study guide. To make it as easy as possible, download my free study guide template and follow along. This workbook will lead you through the heavy lifting to make a study guide that really works. Download your copy here.
What is a Study Guide?
A study guide is a plan that outlines your revision strategy to tackle your coursework. You can make one as a general study strategy to cover the course material or to get ready for a test.
A good study guide will outline the following:
What you need to know.
How do you plan on studying it?
The timeframe in which to prepare for the exam.
How often you will study.
How long each study session will be.
What concepts you will cover.
How you will study the material each time, you sit down.
Several different study activities that you can cycle through.
Study guides for exams should focus on active recall exercises. These test your ability to recall and communicate specific information. It’s not enough that you know the concept. You have to be able to explain and elaborate on your answers precisely.
How to Make a Study Guide to Crush Your Upcoming Exam
There are tonnes of different types of study guides. Each has different strengths and weaknesses. Different guides are good for various subjects, topics or even assignments. Finding and employing one that fits your needs will reduce stress and get the juices flowing to lubricate your path to that A.
Making a study guide that works for you might take trial and error. It’s best to start experimenting with different study activities and finding which ones you enjoy. Once you have seen several that you can cycle through, compile a structured plan to guide your study strategy.
Syllabus-based study guides are the perfect place to start.
This is the most basic and is often the guide to organizing other, more in-depth guides. In general, your syllabus should outline the course material. It should also include information about each of your tests and exams. Reading through it early and collecting the necessary information will give you a head start.
Start by referencing your syllabus to see all the topics you have covered or will be on the test.
Next, check if anything is coming up that will also be on the exam.
Make a simple list of each concept you need to study.
Go through your notes and textbook and break each of these entries into its smallest parts. Don’t worry if it gets messy.
Once you have your complete list, add it to the left-hand column of the blank activity tracker in this free study guide template. This will help to track what exercises you have completed during your study sessions.
You will probably need several copies of this page to create your exam, depending on how detailed your list of topics is. That’s okay. The more in-depth and detailed your list, the easier it will be to track your progress.
Choose which study activities you want to track in your study guide.
The next thing you want to do is decide how to study each concept. We will list these activities at the top of the page. These can be as simple as reviewing notes. However, I would suggest using some of the exercises that are more active and engaging. Let’s discuss some of your options:
Mind Mapping and Brainstorming lay it all out.
These are great places to start testing your knowledge on a subject. Doing a periodic brain dump can help you see where you are studying this concept without prompting.
They are simple. All you have to do is:
Take a blank piece of paper, and write the topic, thesis, subject, or whatever is under study at the time in the center.
Next, write down everything you can think of that is relevant to the surrounding space.
Insert any elaborations, examples, or related topics that come to mind.
Diagrams or doodles that can easily explain a difficult example are welcome addition.
Next, pick out the key elements and ideas and circle them.
Colour code the circles in a way that makes sense to you.
Add any style element if they require further differentiation.
Finally, add lines to link specific details and examples to their related concepts.
If needed, insert notes that elaborate on the specifics of these relationships.
This exercise employs free association to release the information you already have stored in your memory. It is great to see what you already know without relying on prompts from your notes or textbooks.
Once you have completed this exercise, you should refer to your notes and correct any details you may have added inaccurately. You can also add more specifics that you may have missed or not elaborated on fully.
If this technique might work for you, add it to your list of activities. It might be a good idea to add it a couple of times, spaced out across the tracker, so you can check your progress.
Mind maps and brainstorms also flow seamlessly into our following example:
Concept Maps and Branching Diagrams Are an Underestimated Tool
Concept maps are superficially very similar to mind maps. You can also treat brainstorming sessions as a rough draft for concept maps; however, for our purposes, they differ in one key motive: intention.

While mind maps use free association to test and elaborate on what you already know, concept maps and branching diagrams can organize concepts you want to learn. We will use them to categorize and identify gaps in your knowledge.
They start out similarly by adding the subject matter to the top of a blank piece of paper:
Next, you refer to your mind map or brain dump notes and add the necessary details.
From here, we add a branch from each critical point to the details or examples that are most relevant and then further expand those details as necessary. The idea is to work from the most general topics to the most specific ones.
Since you are starting with a brainstorm as a rough draft, this is your opportunity to rearrange concepts in a more organized way than the free association model allows.
Finally, you add relationships with coloured lines.
Add diagrams to any concepts that might benefit.
It may also be helpful to add stylized lines that point out specific differences between concepts.
Now you have organized your brain dump into a much more structured concept map or flow chart. In this format, finding any gaps in the theory will be much easier. These can be filled in.
As you continue to study and learn more about the concept, update this chart. Rather than creating a new one, you can simply insert additional details into the existing concept map. This is a helpful overview page for any topic.
Add this exercise to your activities list after the first mind map. Remember to set aside time throughout your study sessions to quickly review and update it. Still, you should not have to recreate these often.
Comparison charts are the best way to put it all out there.
These charts are a great way to organize similarities and differences between related concepts. They can quickly illustrate everything they have in common and where they may differ. This exercise may not be relevant for every topic; however, trying to create one can still be helpful.
Here, we start out by listing the “concepts” under question.
Next, we add columns for all the details of interest.
In each of the corresponding boxes, you can elaborate on specific traits.
These charts are a great way to visually illustrate differences and similarities between related concepts. It also has you thinking critically about how two ideas are distinguished.
This activity’s usefulness will differ depending on the discipline you are studying. If it might be helpful, add it anywhere you’d like in the sequence of study activities.
Diagrams let you see things clearly.
Diagrams are second to none in remembering cycles, sequences, or any other dynamic event. They are also a fantastic way to lay out and identify landmarks in subjects that require an understanding of spatial arrangements.
While there are always great diagrams with a quick google search, these are nowhere near as helpful as if you draw the doodle yourself. Even for those not artistically inclined, drawing your own diagram will focus your attention on the details under study rather than just trying to ram more information in your head.
Don’t forget to label your diagrams. The more detailed and elaborate the diagram you make, the better your recall will be later. This pertains to both elaborating on the drawing effect and elaborating on the addition of details, comments and landmarks.
If this task is helpful for you, add it to your activity tracker. You will learn much more effectively by including various activities in your study sessions. Drawing diagrams can be a nice break from an intensive reading session while still focusing your efforts on learning fine details.
Timelines lay it all on the line.
Timelines are the best way to organize information chronologically. For visual learners, these are vital. They will help you see the flow of time and the sequence of events. These details are often easily confused.
Creating a timeline is great for organizing historical information, sequential procedures, or even scientific developments. Details such as these are often explained for context when introducing new theories.
This is an activity that is generally only done once. If you think getting clear on a series of events will be helpful, add it to your study tasks.
Practice problems are designed to help you interpret, analyze, and generalize the information.
While this is one of the most basic study activities, it is often overlooked. Most students have an all-or-nothing view of practice problems. They don’t have the time to tackle them all, so they just avoid them. Instead, students often just read their textbooks and copy down notes.
While reading your textbook and pulling notes is critical, it will not teach you to work with the information. Practice problems are specifically designed for you to think critically about how concepts work together. They will also force you to generalize the data, which is vital for test time.
Instead of looking at the practice problems and finding the time to do them, approach this backwards. Set aside time in your schedule and select the issues that will fit that timeframe. Committing to 1 hour of practice problems is much easier than completing a full chapter review with 80 questions.
Sample tests or old exams: Our Way Is the Old Way.
Doing sample tests, with or without your notebook open, is one of the most tried and true ways to study for an exam. This is always suggested by professors, with some even supplying past exams or sample questions to the class.
I can not stress enough how important it is to at least try these exams. Not only will it let you test your knowledge, but it will also give you an idea of the style of questions that might be asked. Knowing what lies ahead will help you avoid anxiety on test day.
Because doing sample tests is such a given, I want to use this time to focus on something slightly less obvious: Make your own sample test.

While reading through your notes, stop after each page and consider how the professor might test you on the information given.
As you are reading, on a separate sheet of paper, write down the questions as if you were the one writing the exam.
Add a few different ways the question could be posed.
In the study guide workbook, there is a practice quiz template. Add the answer to the field, then list several different ways to ask the question next to it.
Mix up these questions and make a bunch of practice quizzes to complete during your study sessions.
Don’t forget to add a variety of question types like:
Multiple choice
Short answer
Fill in the blank
Long answer
Essay questions
Diagrams or chart questions
Processes or flow charts
Etc.
Periodically complete one of these study sessions you have made for yourself.
If you added multiple questions for each concept, you could make yourself several tests at a time. This way, you can do this exercise repeatedly off a single read-through of your notes. This increases the efficiency of each read-through exponentially.
One great thing about this exercise is that you can do it ahead of time and save it for when you are ready to study for the exam. Adding it to your study routine would cost only a slight increase in daily study time. Then, when midterms and finals roll around, you will have ready-made practice exams without needing to search or scramble.
Trading exams with your friends is also a great way to anticipate different types of questions that might be asked. Suggest trading practice quizzes if you have a study group or friends in your class. Make sure to set out the parameters of your expectation so you get various question types.
Add a task to your study activity tracker to make practice quizzes. Additionally, insert several opportunities to take these quizzes. Since you can make a few at a time, you can quiz yourself often.
Correcting practice problems and exam questions is just as important as doing them.
Both the testing and correcting of practice questions are vital. While doing the exam assesses your retention and recall of knowledge, marking and correcting the exam lets you see what information you do not understand.
While you may believe that you understand all the concepts clearly, sometimes there is a nuance in answers or further elaboration that you could make. Correcting your practice test is when you will be most receptive to amending this information.
Insert time into your study task list to correct practice problems and exams. This can be done multiple times or just once, depending on how much time you have to study.
Staying on track with your new study guide.
Once you make a study guide, you have to make a commitment to stick to it. It’s wonderful that you took all this time to plan, but if you don’t follow it, it will be time wasted. Use your planner to set realistic goals and stick to them for the best results.

Make a schedule.
Create time in your weekly schedule to study. Set aside the time at the beginning of the week, so you are not scrambling to find it. If you don’t plan to study, you likely won’t.
Use your planner and block off all the time you need to spend on your obligations, including studying. Follow this schedule as much as possible to manage your time effectively.
Use the Pomodoro planners to outline/structure each of your study sessions.
Once you have blocked your study time, print off the Pomodoro planner templates from the study guide workbook. Each template holds about 2 hours of study time, so you will need several.
In each block, add your topic and study activity. There is also space to fill in any notes or supplies you may need. Complete this for the entire week ahead of time. This way, you are not wasting time deciding what to do.
Track your progress on tricky subjects with the confidence tracker.
As you study, you will be covering many topics and have varying levels of confidence. It will be easy to forget which concepts you are struggling with. As you progress through your activities, update any uncertain topics in the concept tracker template.
This way, you can double back around and spend your time more efficiently reviewing this item more often.
5 Tips for studying for any exam
Start studying early. Try to give yourself about 3 weeks to prepare. You can start even earlier if you have a detailed enough syllabus and exam outline.
Write plenty of practice tests. If the professor doesn’t give you one, make your own.
Don’t sacrifice your sleep leading up to the exam. Make sure you’re well-rested.
Review how you did on the past test and read the comments. Make sure to correct any wrong answers.
Make sure you are covering all topics during your study sessions. Cross-reference with your notes and syllabus often to make sure no concepts get overlooked.
My least favourite part of getting that great mark is the time it takes to study for it. Using different combinations of study activities is the most fun you can have grinding. Take the time and make a study guide tailored to your specific strengths.
By focusing your efforts on strategies that work for you, you will increase the efficiency of each study session. Use my free study guide template to streamline this process. It has all of the pages you need to make a clear plan for your exam. Download it here.

I would like to be transparent so that there are no misunderstandings. As an affiliate, I may earn a small commission from any products linked in this post. This is not a sponsored post, and I was not asked to recommend these products. These are products that I genuinely love and want to share with my audience.